lenovo-m715q-case-mod.md
- tags
- #cad #3d-printing #hardware-mods
- categories
- projects
- published
- reading time
- 4 minutes
Lenovo ThinkCentre M715q Case Mod
A few weeks ago, I was tidying up the mess of cables since I just got a new laptop and a pretty nice docking station. I found an old Lenovo ThinkCentre I picked up last year that had been sitting on the shelf collecting dust ever since.
Originally, I planned to use it to replace my Raspberry Pi 3B+ as my Jellyfin music streaming server, but I never got time for it. And now, I am using my Mac Mini for that. So, I don’t really have any use for it anymore.
So I decided to mod the case, because why not?
 |  |
|---|
I really like its small form factor. I am a big fan of ITX machines and tiny computers, so I wanted to keep the form factor. But I also wanted to add a handle and a screen to make it into a suitcase like form factor.
I already had a screen from a previous home center control project that I no longer needed. So I decided to repurpose it, though with one problem:
How do I power the screen and get the video signal?
I could, of course, just run the cables outside and connect them to the IO panel, but first, I don’t want to sacrifice any of the IO. Second, well… it’s ugly.
Luckily for me, Lenovo included an internal proprietary DP header on the motherboard. So all I needed was an adapter like this.
Now, I just needed a power source.
Unfortunately, I couldn’t find any USB headers. But fortunately, there is a SATA port. So I made a simple SATA power to USB power adapter.

Designing the case for the computer itself was easy. I just need to trace the layout. The screen, though, was a bit trickier.
You see, the screen is around 165mm wide, and the motherboard is around 175mm wide. The screen’s IO is located on the left side, and since the computer’s IO is also on that same axis, the width of the case could only be exactly 180mm. That left me just 15mm of space to work with for the screen’s connections.
Even with a 180 degree adapter, there is just not enough room to center the screen unless I solder the cable directly to the screen.
So the screen had to be slightly off-center.
After a few days of designing and prototyping, I finalized the general shape. Here is how it looked:
// BTW, I just realized the screen had not one, but TWO screen protectors on it. No wonder it looked like ass before.
 |  |
|---|
And now, the moment of truth. Time to plug everything in and see if it works. Did I break anything?
Well, no. I didn’t break anything, and everything worked just as expected.
One small problem was that I realized the WiFi card is missing. I suspect the original owner was maybe a school or company that permanently mounted these behind monitors and didn’t need WiFi.
Anyway, I don’t have a WiFi card either, but I do have a USB WiFi adapter. So I plugged it in and played some YouTube video. // The tiny speakers are surprisingly loud

Now it was time to actually put everything together inside the case.
After a final adjustment of the model to fix the positioning, I installed everything.
It is a tight fit with the lid closed. I wanted to make the case as small as possible, so I basically had to cram it in with some force.
Thankfully, nothing broke. // Though I did have to rely on some duct tape. The black stuff you see on the back IO panel
Thermal performance is pretty good too. I was worried about overheating, but the CPU stays around 60 to 70°C under load, around 40 to 50°C inside the case.
The last thing I want is for the computer to deform my PLA case. Since, as you know, PLA starts deforming at around 60°C. It is still a bit close for comfort. I should have used PETG. // but I ran out of white PETG filament
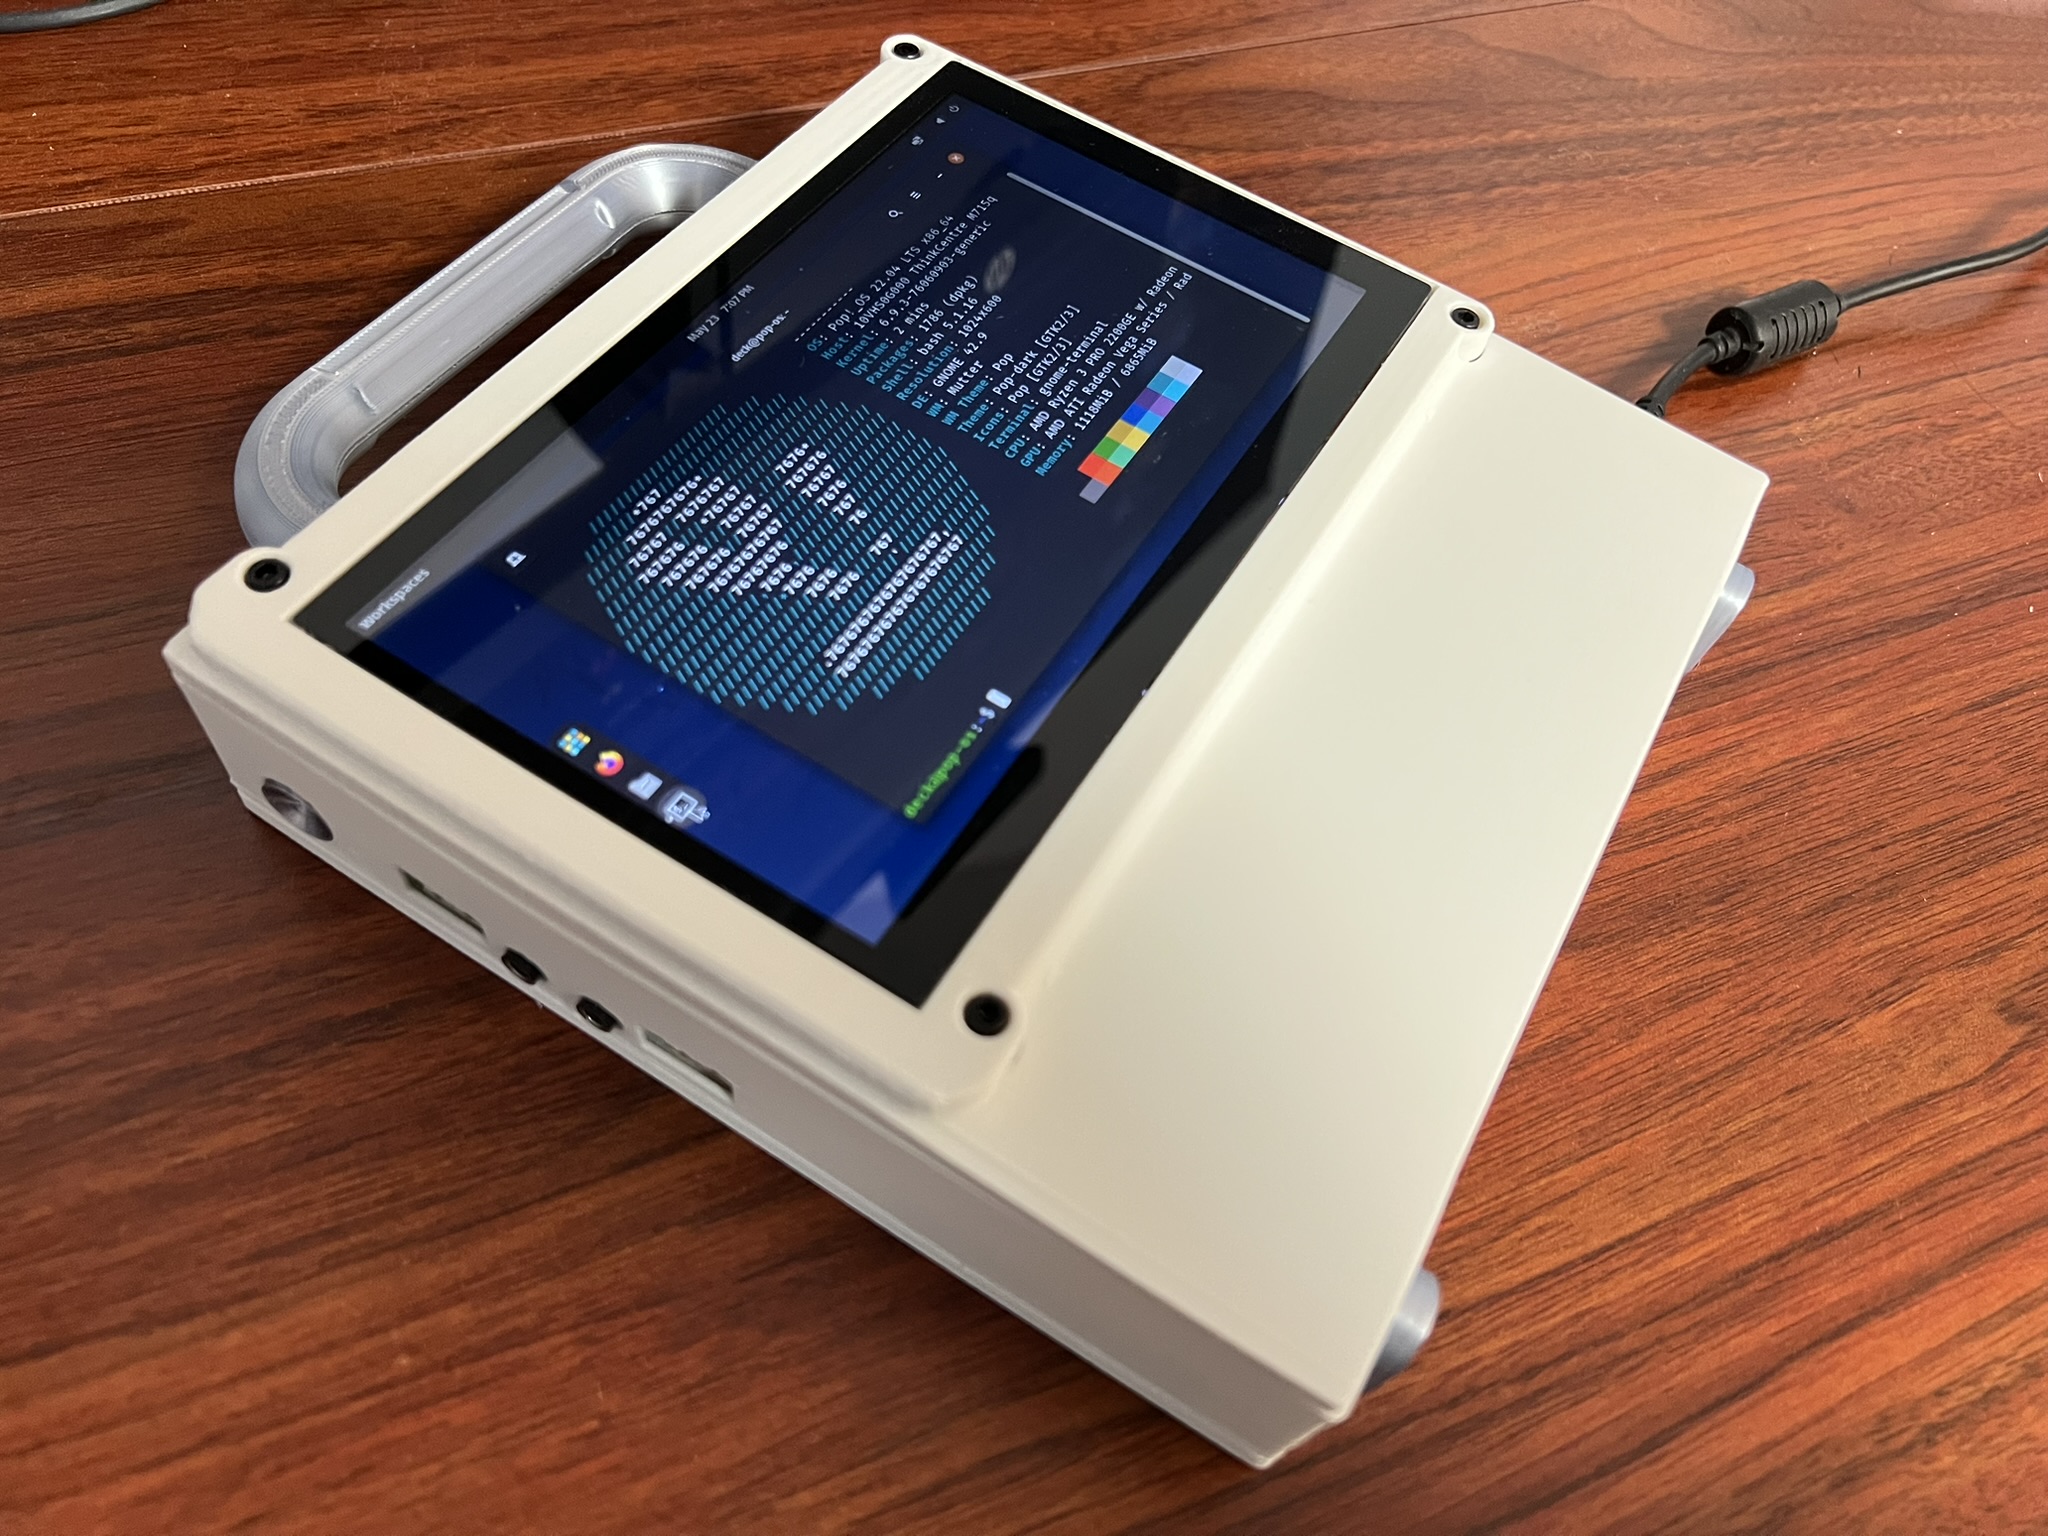
Here’s the final look: // please ignore my bedsheet background
 |  |
|---|
Measurements
| Dimensions: | 180mm x 180mm x 50mm (180mm x 220mm x 50mm with the handle) |
| Weight: | 1.4 kg |
Honestly, I have no idea what to do with this now. It is not exactly portable since you still need to plug it into an outlet.
Maybe I will use it as a backup Linux box for recovery? I am not sure.
Or maybe I will try to integrate a battery. The power brick is only 65W. I should be able to find a battery that can handle it and make it truly portable. There is plenty of space in the back.
Actually, maybe I will add a tiny keyboard with a touchpad and turn it into a full blown cyberdeck. That would be cool.
Let’s see if I revisit this in the future.